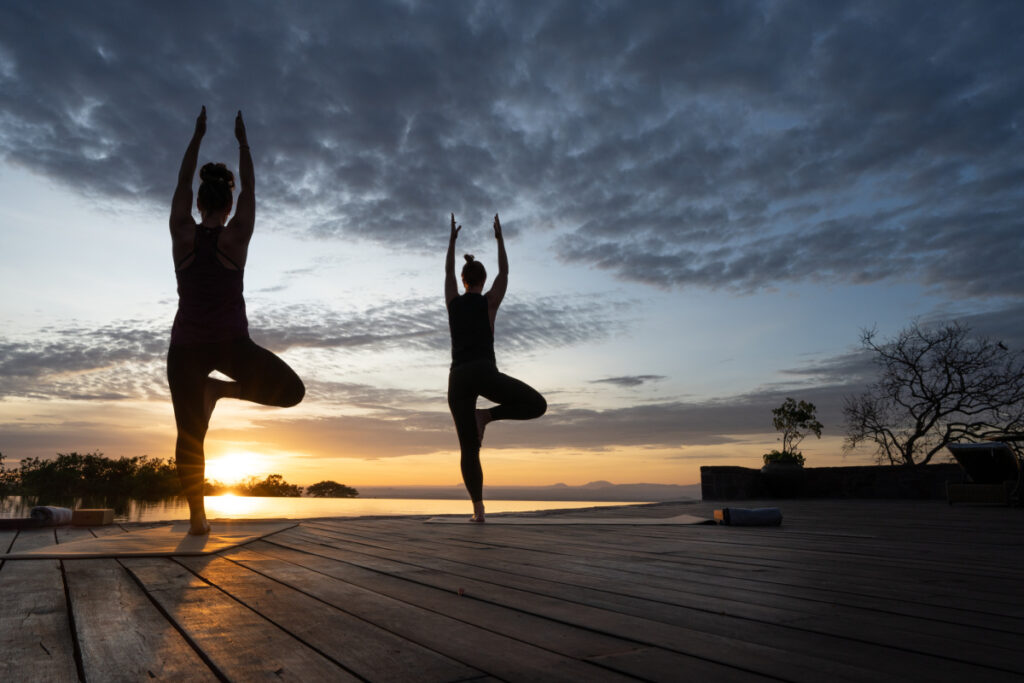
Practicing yoga at home can sometimes feel like a challenge. You may find yourself either distracted by new, complex poses or falling into the comfort of familiar sequences. It’s important to honor both your goals and the soothing feelings yoga brings, but periodically reassessing your practice can help you achieve more balance. No matter your experience level, revisiting foundational poses—like standing poses, backbends, forward bends, and inversions—can deepen your understanding of alignment and movement.
1. Malasana (Squat)
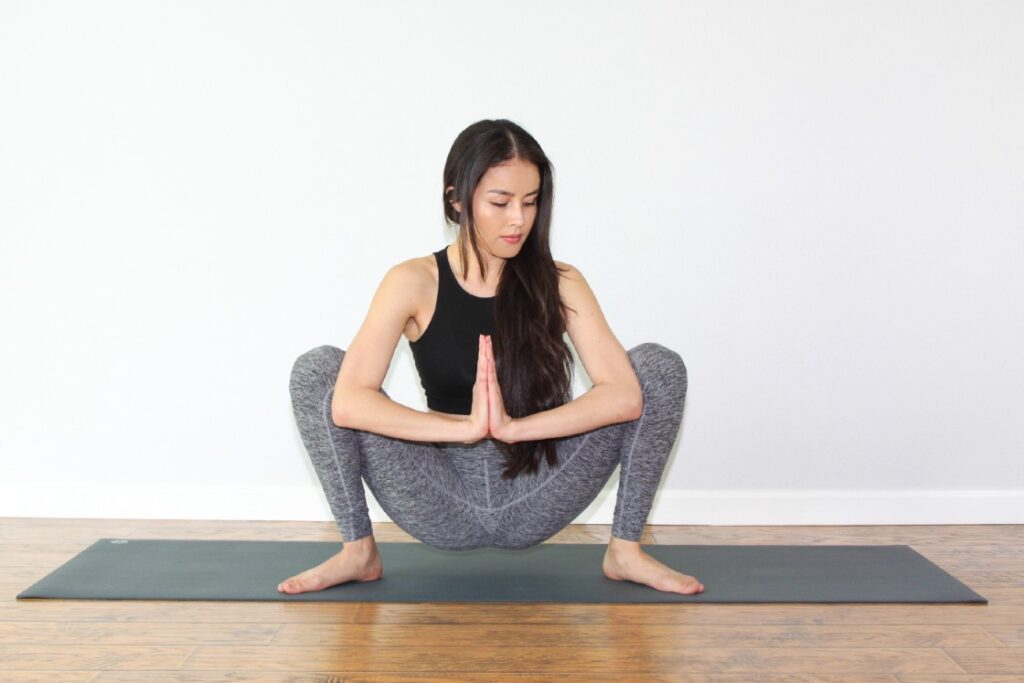
This deep squat pose is great for releasing tension in your lower back, opening up your hips, and stretching your thighs. It can be adjusted to make it more or less challenging.
- Beginner: If you find it difficult to keep your heels on the floor, angle your toes outward and widen your stance to about hip-width. If knee discomfort arises when lowering into the squat, sit on a block for added support. Placing a rolled blanket under your heels can also help if they don’t reach the ground.
- Intermediate: For a deeper hip opener, try bringing your arms into the pose. Lean forward slightly and work your upper arms between your knees. Bring your palms together in front of your chest, leaning into your thumbs to encourage external rotation.
- Experienced: Traditionally, Malasana is done with feet together, knees wide, and a forward fold with arms extended or wrapped behind the heels. However, keeping your feet wider than your hips provides a greater release, especially after a long day.
2. Chaturanga Dandasana (Four-Limbed Staff Pose)

This foundational pose is often rushed and misaligned, which can lead to injury. By slowing down and focusing on correct form, you can use Chaturanga as a way to build strength and body awareness.
- Beginner: To build the necessary strength, begin with your knees on the mat. Engage your core by drawing your lower belly up to avoid sinking into your lower back. Keep your elbows close to your body, ensuring they stay directly above your wrists.
- Intermediate: Maintain a neutral neck by gazing down with a slight forward tilt. Keep your shoulders away from your ears and focus on drawing your chest forward as you lower your body, ensuring your elbows stay stacked over your wrists.
- Experienced: Take your time in this pose. Slow your breath, inhaling fully in Plank pose and exhaling completely as you lower into Chaturanga. This mindful pace helps prevent misalignment and encourages better control throughout the movement.
3. Utthita Trikonasana (Extended Triangle Pose)

A classic standing pose that helps stretch the sides of the body, strengthen the core, and release the lower back.
- Beginner: Avoid collapsing your torso to reach the ground. Instead, place your hand on a block or your shin to maintain even length through both sides of your body.
- Intermediate: Focus on stabilizing your torso by drawing in your ribcage, engaging your core, and avoiding excessive arching of your lower back. Keep your lower belly lifted to lengthen your spine and prevent puffing out your ribs.
- Experienced: Align your torso with your front leg and work to keep both sides of your waist equally long. This will prevent leaning too far forward or to the inside, helping to keep your body balanced and engaged.
4. High Lunge
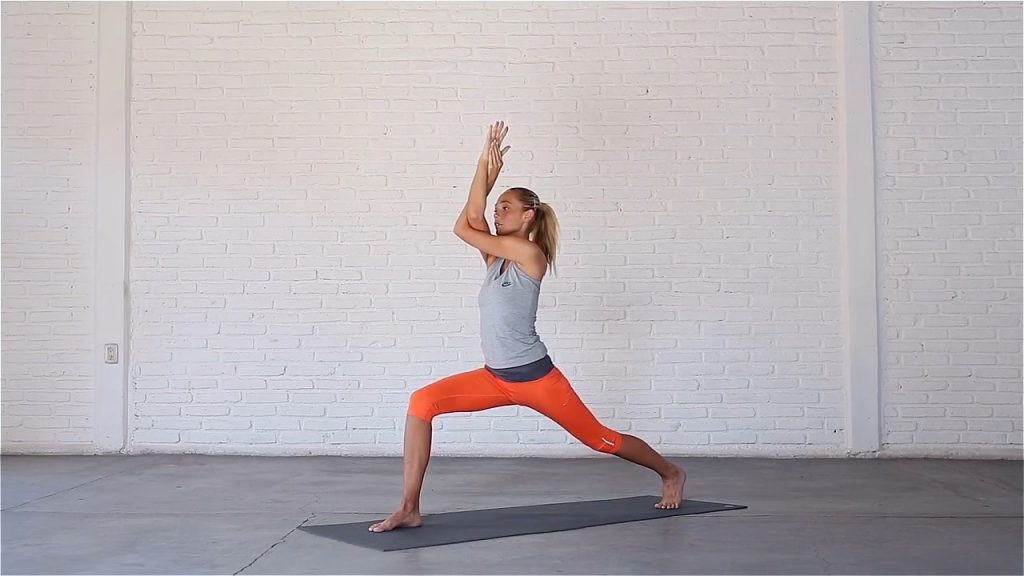
High Lunge is essential for strengthening the legs, opening the hips, and expanding the chest. It also helps cultivate a sense of power and stability.
- Beginner: If balancing feels tricky, ensure your feet are hip-width apart. A narrower stance can make it harder to stabilize, so widening your feet will help.
- Intermediate: Avoid leaning forward by focusing on engaging your core and slightly bending your back knee to release tightness in your pelvis. Keep your pelvis neutral by drawing it up, and gradually straighten your back leg for a more stable foundation.
- Experienced: To add a backbend, maintain the tips for beginners and intermediates, then lift your arms overhead and interlace your fingers, leaving only your thumbs and index fingers free. Keep the base of your neck relaxed as you extend your chest upwards and back, engaging your core to prevent your pelvis from tilting.
5. Salamba Setu Bandha Sarvangasana (Supported Bridge Pose)
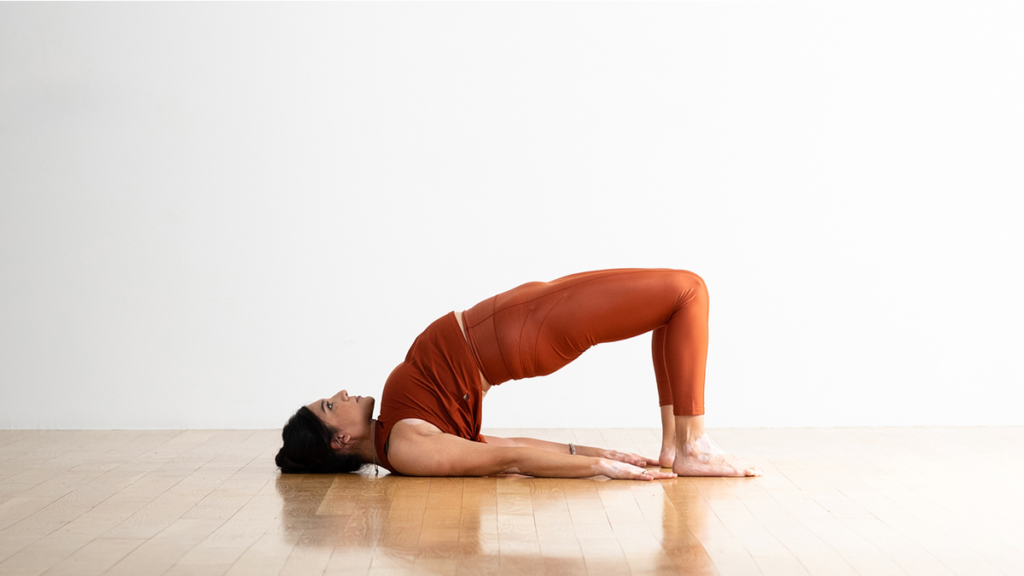
This variation of Bridge Pose, with a block beneath your sacrum, offers a relaxing and restorative option that helps release tension in the lower back and chest.
- Beginner: Start by placing a block on its lowest setting beneath your sacrum, the flat bone at the bottom of your spine. If it feels uncomfortable, try placing a folded blanket on top of the block for added cushioning. Keep your thighs gently engaged, but relaxed.
- Intermediate: Increase the block height by placing it on its medium level under your sacrum. Press up onto your toes to fit the block, then interlace your fingers under your back. Hug your shoulders in toward each other for added support.
- Experienced: After following the previous steps, try extending one leg toward the ceiling, pushing through your heel for a modified Shoulderstand. Maintain strong arm engagement to support your posture.
6. Camel Pose (Ustrasana)
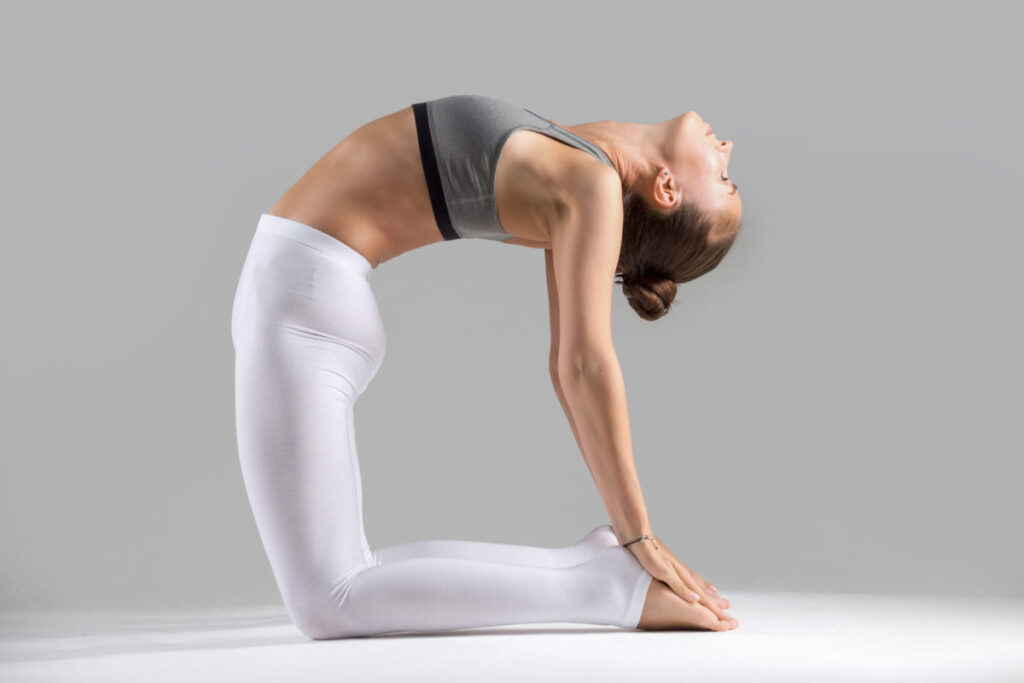
Camel Pose offers a deep stretch for the front of your body, but it’s important to maintain proper alignment to protect the lower back and neck. The posture can be modified to suit different levels of flexibility and strength.
- Beginner: Start by kneeling with your shins hip-width apart and your toes tucked. Place your hands on your lower back, encouraging your tailbone to descend toward the mat while your lower belly gently lifts. Keep your gaze forward and open your chest by rolling your shoulders back.
- Intermediate: After completing the beginner setup, move your hands toward your ribcage to lift and expand your chest. As you continue, drop your hands to your heels while keeping your hips aligned over your knees. Focus on maintaining the lift of your chest.
- Experienced: Incorporate the previous steps, but make sure the tops of your feet are flat on the ground. After adjusting your ribs, continue to lift your chest, allowing your head to gently fall back. Let your face and throat soften as you grab your heels for a deeper stretch.
7. Janu Sirsasana (Head-to-Knee Forward Bend)

This forward bend stretches the hamstrings and calves while opening the hip of your bent leg. It’s also a great way to learn how to adjust small elements of alignment, such as keeping your chest square with the extended leg.
- Beginner: Sit on a folded blanket or block for extra height. Use a strap over the ball of your extended foot, holding it with both hands. Keep your spine long and avoid rounding your back. Gently pull on the strap to encourage your foot to stay flexed.
- Intermediate: Inhale and extend your spine. As you exhale, rotate your torso toward your extended leg, keeping your belly button facing the knee. Hold onto the foot, maintaining the twist and lengthening your spine.
- Experienced: Once your flexibility increases, try to reach beyond the ball of your foot, clasping your wrist with your opposite hand. Inhale as you create the bind, then exhale and fold deeper, bending your elbows to move further into the stretch.
8. Reclining Supported Twist

A gentle reclining twist is an excellent foundational pose to learn how to safely rotate your spine. Mastering this in a supported version will help protect your back in more advanced twisting poses.
- Beginner: Don’t force your knees to touch the floor; instead, let the twist come naturally. If needed, place a folded blanket between your knees to support the top leg and avoid overstretching.
- Intermediate: Focus on aligning your spine by shifting your hips slightly to the left before lowering your knees to the right. If it feels comfortable, turn your gaze toward the opposite side of your knees, and gently tuck your chin to lengthen the back of your neck.
- Experienced: For a deeper stretch, you can place your opposite hand on your top thigh to gently deepen the twist. Keep the movement subtle to avoid overstretching, allowing your body to soften into the pose.
9. Viparita Karani (Legs-up-the-Wall Pose)

This restorative pose is perfect for all levels, helping to calm the nervous system, improve circulation, and reduce fatigue. It’s particularly beneficial after long periods of standing or physical activity.
- Beginner: Place a folded blanket or bolster lengthwise against the wall. Sit with one hip touching the wall, then lie back and swivel your legs up, keeping your hips on the prop. Your lower back should remain elevated, while your upper back and head rest comfortably on the floor.
- Intermediate: Remove the bolster and practice the pose with your hips directly against the wall, allowing your legs to fully extend.
- Experienced: For an extra level of support, use a strap or belt around the balls of both feet. Bring your legs up the wall, wrap the strap around your shins twice, and tighten it around your feet. Let your legs relax fully into the stretch.